Objective
Learn how to use Intercom with Outreach.
Applies To
- Outreach Users
- Outreach Admins
- Intercom
Overview
Seamlessly connect your Intercom messages with your sequences in Outreach, so you can convert on more leads and move deals through the pipeline faster. By sending Intercom conversations to Outreach and triggering follow-up tasks, sequences and other activities in Outreach, connect all of the parts of your lead or customer’s journey and automate the next best action for you to take as a salesperson.
Note: You need the same admin on both platforms (Intercom and Outreach) to enable the integration. Adding the Intercom integration is an org-wide action rather than a personal one for just one user’s account.
There are two sides to the Outreach and Intercom integration:
- Get Insights You Need from Sales or Support Conversations - See a full transcript of your Intercom sales or support conversations in your Outreach activity feed to provide the context you need before your next action
- Trigger Off of Intercom Messages - After you've chatted with your lead or customer on Intercom, use Outreach triggers to customize what happens next by triggering a sequence, task, call, and more!
Below, we’ll explain how to enable the integration, how it works, and best practices for using the integration.
Procedure
Enable the Intercom + Outreach Connection
- Log in to Outreach as a user.
- In the bottom left corner, click your user avatar/initials > Personal settings > Integrations.
- On the setting panel that appears, under the section User Admin, click Org.
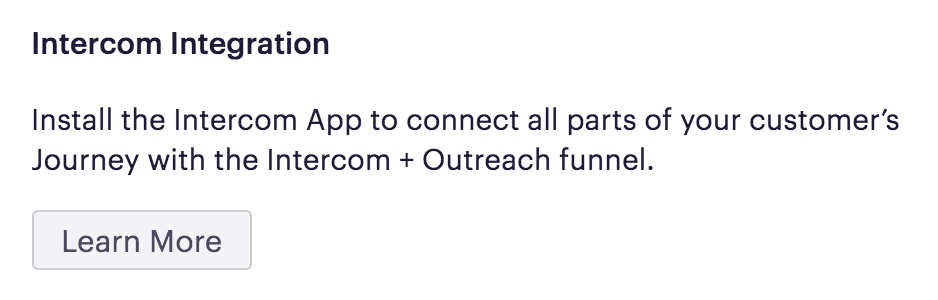
- Under the section labeled Intercom Integration section, click click Learn More. You’ll be redirected to the Intercom integration installation page.
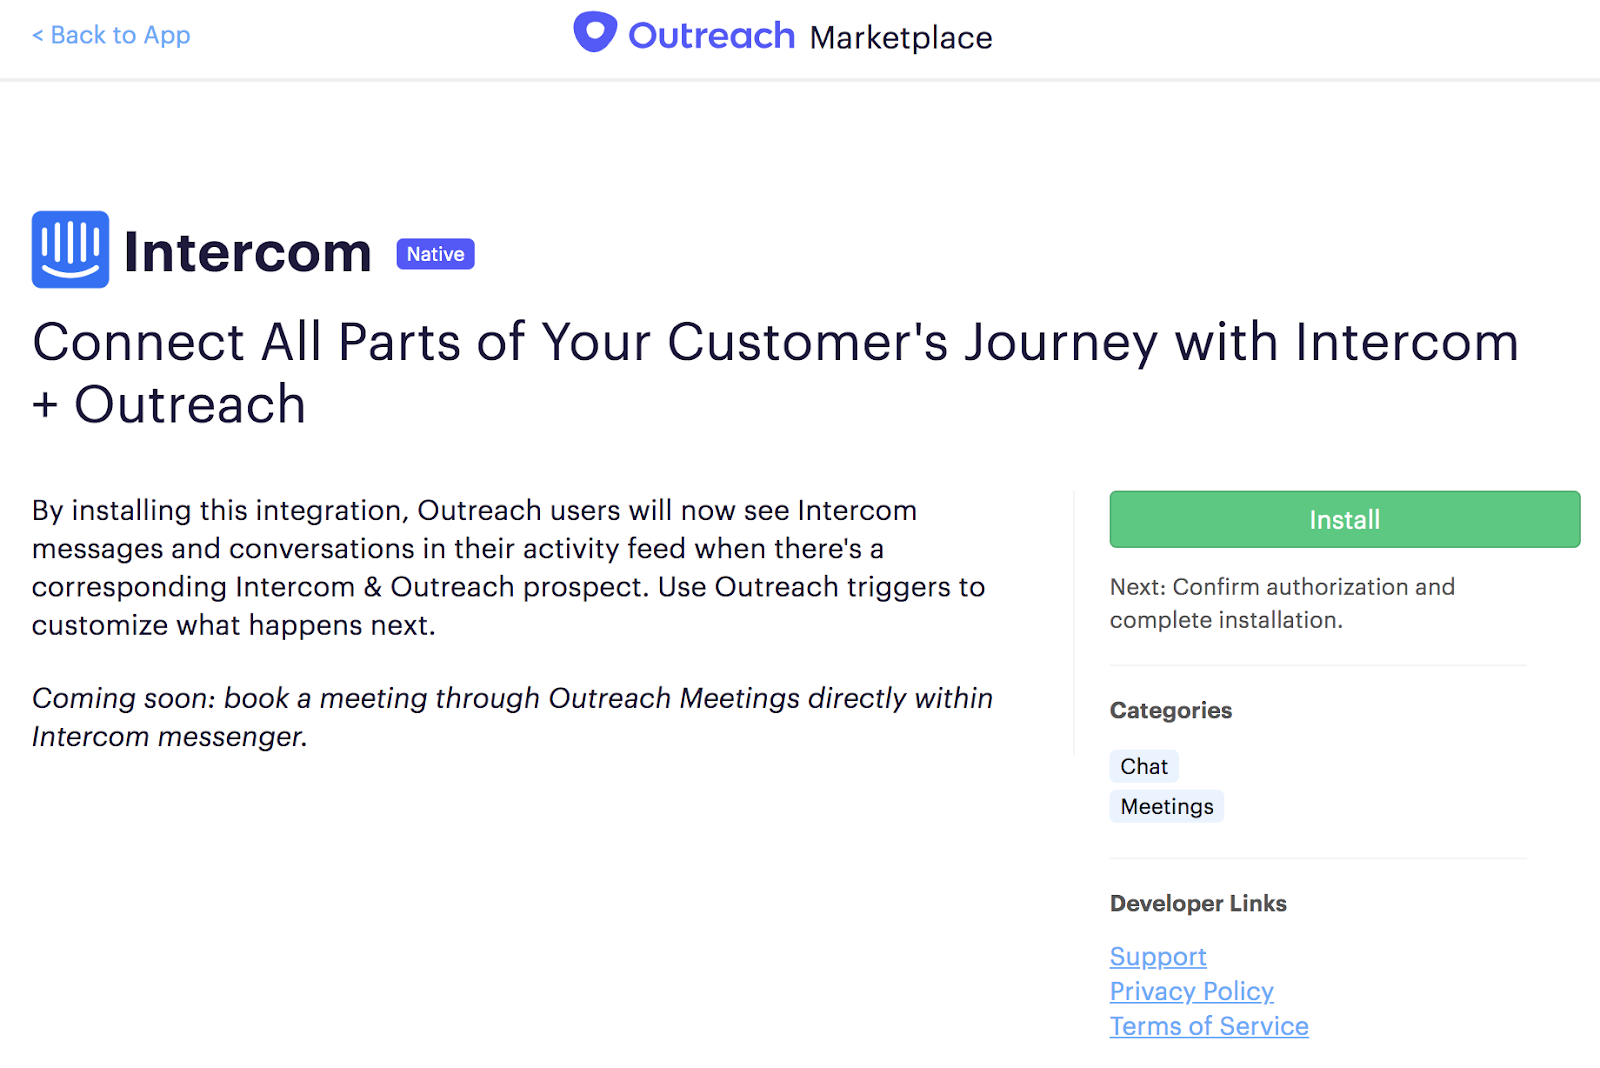
- Click the Install button.
- In the pop-up, click Authorize.
- Follow the prompts to sign into Intercom, then authorize access to Outreach.
You’ve successfully connected your Intercom account to Outreach! You now have the opportunity to configure more on Intercom’s configuration page.
Configure the Integration Options
Note: If you are configuring Intercom + Outreach for the first time after having just enabled the connection per the instructions above, skip to Step 3 below.
- Navigate to your user avatar/initials > Personal settings > Integrations >User Admin > Org.
- Under the section labeled Intercom Integration section, click click Manage App.
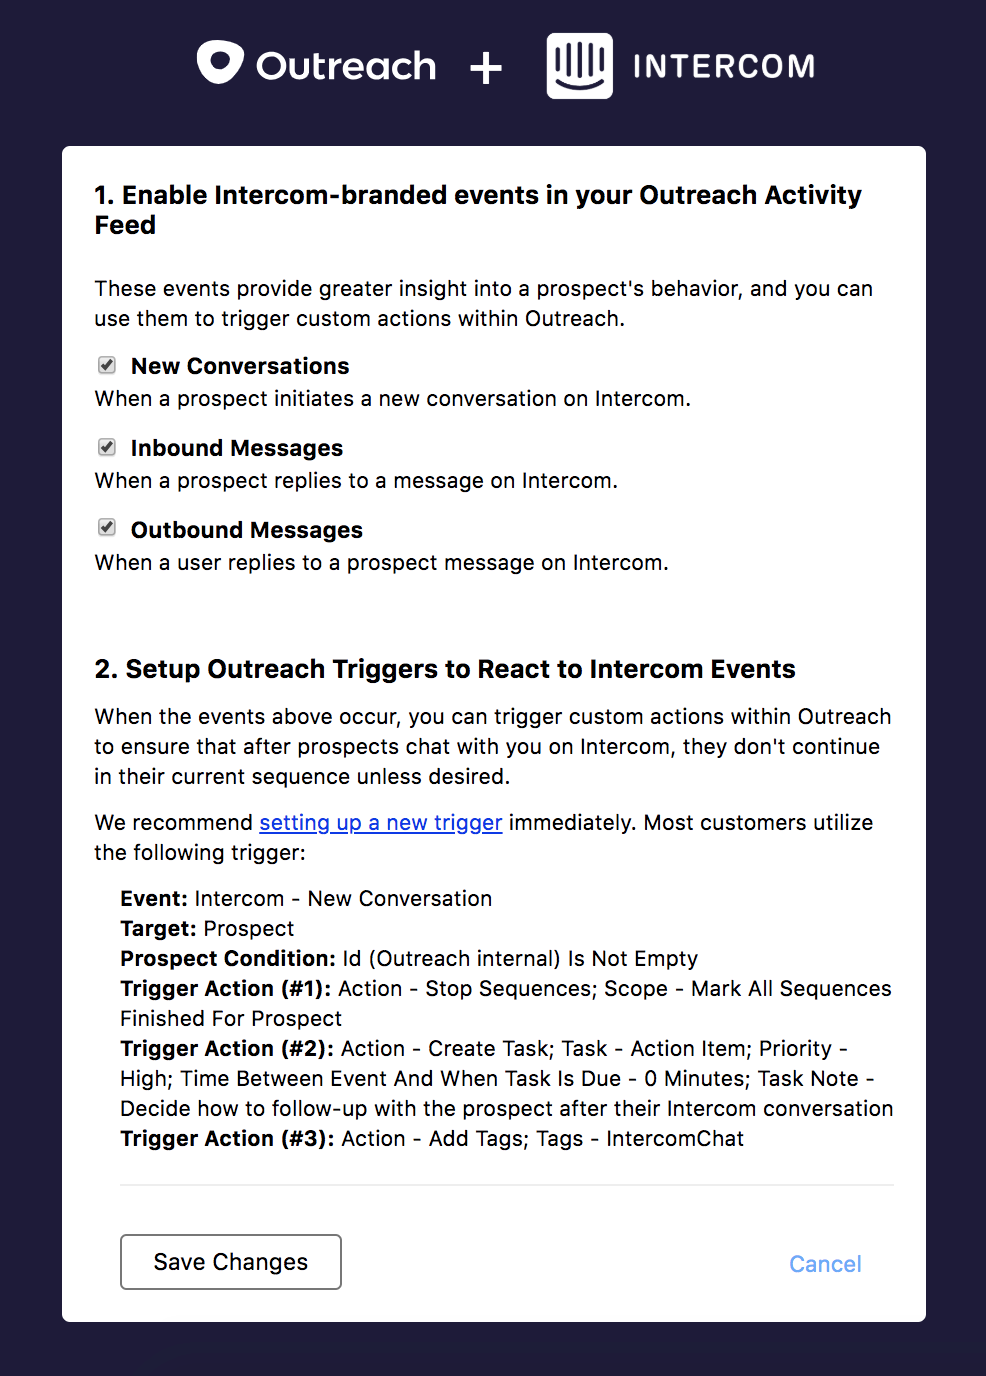
- Review and select applicable options in the setup window:
- Enable Intercom-branded events in your Outreach Activity Feed-
- If a prospect or customer with a corresponding email address in Outreach sends a message in Intercom, a New Conversation will post in that prospect’s activity feed in Outreach. Each Intercom chat message—from the prospect or from the rep—will then be posted as a line in your activity feed.
- If there is too much Intercom activity clogging up your activity feed, we suggest unchecking Inbound Messages and Outbound Messages so each individual message doesn’t post to Outreach. A URL of the full transcript of the chat can be found on each event. (Ensure you’ve included “External” activities in your Activity Feed filter.)
- Setup Outreach Triggers to React to Intercom Events- By default, if a prospect or customer sends a chat through Intercom, Outreach will keep the prospect/customer in any sequence they're in. To ensure that prospect’s next step is contextual, you can trigger custom actions within Outreach so they don’t continue in their current sequence unless desired. We recommend setting up a new trigger immediately to designate what should happen next after a Intercom event occurs.
- Enable Intercom-branded events in your Outreach Activity Feed-
- Click Save Changes.
Now that you’ve enabled the integration, Intercom will begin working automatically.
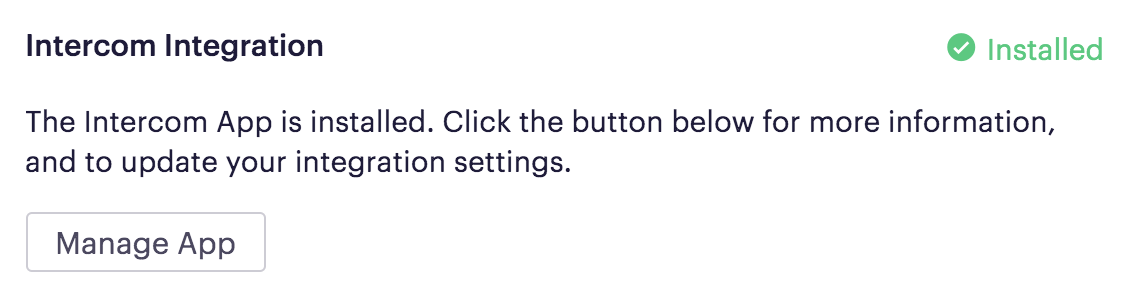
A green check mark verifies that the integration has been successfully installed.
Once you’ve enabled the integration, Intercom will post chat events to the Outreach activity feed.
Once the app is installed, an email notification will be sent to all Outreach admins on your account.
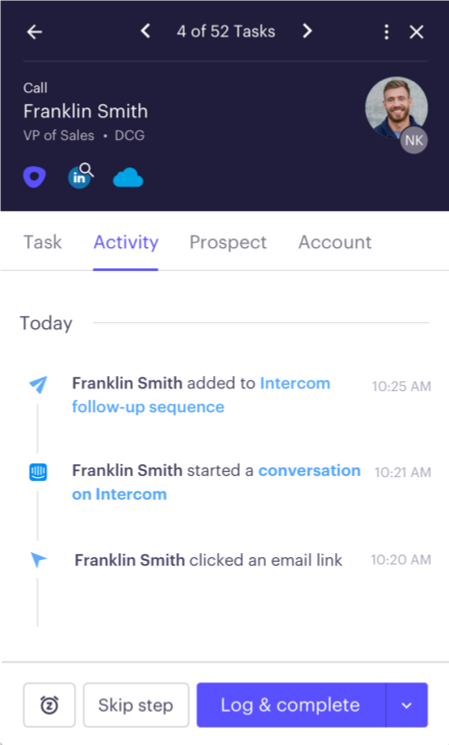
Set up Triggers
After a prospect or customer chats with you on Intercom, by default, nothing will change in Outreach. Triggers allow you to customize what happens to that prospect in Outreach after the chat finishes so the next step is contextual.
Note: You will not see the Intercom trigger settings until you have set up the integration. You must be an Outreach Admin to create triggers.
- Access Outreach as an Admin.
- Click on you Administration > Workflow automations > Triggers.
- Click Add trigger.
- Name your trigger. We recommend making it descriptive so that you can quickly glance at the name and understand what the trigger is accomplishing.
- Under the Event section, you have three options. We recommend only triggering off of the Intercom - New Conversation event as it only occurs once somebody actually begins a chat with you. Triggering off of the specific messages creates far more noise than one trigger based on the conversation simply being initiated.
- Intercom - New Conversation: When a prospect engages with a chat (meaning they have to type something and send it). Most customers utilize this.
- Intercom - Inbound Message: Message sent by the prospect or customer in the Intercom chat.
- Intercom - Outbound Message: Message sent by the rep in the Intercom chat.
- In the Add prospect Conditions section, add conditions on the prospect that must be met for the trigger to fire. You also have the option to add account conditions.
- Under trigger actions, decide what should be done when the Intercom event occurs and the prospect and/or account conditions are met.
- When done, click Save.
- Activate your sequence by clicking on the toggle next to the sequence name so that it turns green.
Example Trigger
- Event: Intercom - New Conversation
- Target: Prospect
- Prospect Conditions: Id (Outreach Internal), Is Not, Empty
- Trigger Action (#1): Action - Stop Sequences, Scope - Mark All Sequences Finished For Prospect
- Trigger Action (#2): Action - Create Task; Task - Action Item; Priority - High; Time Between Event And When Task Is Due - 0 Minutes; Task Note - Decide how to follow-up with the prospect after their Intercom conversation
- Trigger Action (#3): Action - Add Tags, Tags: IntercomChat
FAQ
Why can’t I see Intercom conversations in my Outreach activity feed?
First, have you cleared the filters on your activity feed? If “External” events are checked/filtered in and you still aren’t seeing your Intercom activity, contact Outreach Support.
What triggers should I set up?
Every situation is different, but we recommend starting with more manual triggers until you know your process. For example, trigger an action item to decide how to follow up after your Intercom chat is over. Or trigger a follow-up sequence with the first step being a manual email, allowing you to decide on personalized messaging.
How do I differentiate between a sales and support Intercom conversation?
Whether the Intercom chat was with your support team or with the sales team, an “Intercom - New Conversation” is fed into Outreach. There currently isn’t a way to differentiate between the two from Intercom, except by reading the messages sent and received. That’s why we recommend using generic, more manual triggers until you know your process.
We’ve seen customers utilize triggers to follow up on sales chats with prospects that didn’t convert and on support chats with customers communicating on product issues.
How do I set up triggers off my Intercom events?
Was this article helpful?
That’s Great!
Thank you for your feedback
Sorry! We couldn't be helpful
Thank you for your feedback
Feedback sent
We appreciate your effort and will try to fix the article